Before you start
- Create an afterSora account and confirm you can open the dashboard.
- Add enough credits for one small representative test.
- Prepare a clear prompt and any reference asset you have the right to use.
- Decide the required delivery shape: image or video, landscape or portrait, and target duration.
1. Create the project
Open Projects or the project controls in the dashboard and create a short name that identifies the work. Project names are intentionally compact. Use the campaign, concept or deliverable rather than a paragraph-sized brief.
The project is a container for generated outputs. It does not create tasks, deadlines or client approvals. Keep those in the system that already owns them.
2. Choose Video or Image
Select the output type before selecting a model. Video currently offers Sora 2, MiniMax H3, FLUX 3, Wan 3.0 and the Seedance family. Image mode offers afterSora Imagine with Standard HD or 2K Precision, plus GPT Image 2.
3. Match settings to the deliverable
- Aspect ratio: use 9:16 for vertical delivery or 16:9 for landscape where supported.
- Duration: choose only from the values displayed for the active video model.
- Resolution or quality: do not pay for a higher setting unless the final delivery needs it.
- Variations: begin with one while the prompt and references are unproven.
- Optimisation: enable it only when you want the platform to restructure the prompt or storyboard.
4. Add a character or world only when useful
A character can help carry subject identity, while a world can carry environment and visual rules. Neither is mandatory. Adding irrelevant references can make a brief harder to control, so start with the smallest context that defines the shot.
5. Decide whether you need Storyboard
Use a single prompt for one self-contained shot. Use Storyboard when the idea contains several timed beats or camera changes. Write each card as a shot, not as a list of project tasks. The model determines the supported card and reference behavior.
6. Check the credit estimate
The dashboard calculates the charge before submission. For video, duration, model, resolution and variations drive the main cost. For images, model and quality drive the per-output cost. Optional optimisation and character setup may add separate charges.
7. Submit one controlled generation
- Read the compiled prompt once before sending.
- Confirm the selected model, aspect, duration and resolution.
- Submit one variation.
- Watch the job status in the library rather than sending duplicates.
- If the job fails, confirm that reserved credits return before retrying.
8. Review and organise the result
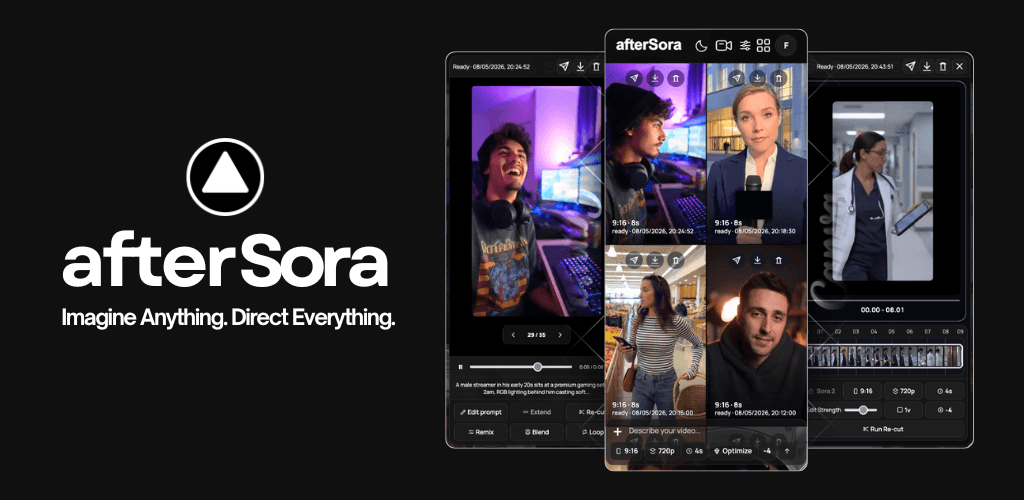
Open the output and judge it against the original delivery requirement. Favorite strong results, associate the output with the project if it is not already attached, and download approved media. Use Remix, Extend, Re-cut, Loop or image adjustments only when the source and selected model support the intended change.
Your first-project success check
- The project has a clear name.
- The output uses the intended mode and live model.
- Only approved references were used.
- The credit estimate matched the submitted settings.
- The successful file can be opened and downloaded.
- Prompt, settings and final output remain findable for the next revision.